I was trying very hard to remember what we did the previous time we (Hayley & I) went to a workshop… and even though I started out by confusing even myself, I do believe we ended up with some amazing shots despite (and in defiance of…) the cold! 
Anyone can have a play with these settings, you can even switch off the lights in the house tonight and have a play in the lounge!!! The edge of your imagination is the limit!
As we discovered on our practice and play session, these settings are a guideline and you need to play with your camera, taking settings up or down to where you feel comfortable and to the point where you are happy with the shot.
So, what we did in a nutshell:
- Set your camera up on a tripod or lacking that, a stable surface
- Set out the area you can comfortably see in your viewfinder and mark them, if you move outside of this area, your photo might miss edges (you might need someone to help you here or you will be running up and down to see where your demarcated areas are in the photo! We just had 2 people move closer together and/or further apart as everyone called out where someone was visible on left and right edge until we got our “play area”)
")
")
")
- Now, set an item / person in the middle of your play area and have your camera lens on Auto Focus, press your button down until your camera has focussed on the item / person and switch your lens’s auto focus to manual focus (you will be taking a lot of “quick” photos and you don’t have time for your camera to try to focus. I prefer using Live View for this kind of photo’s and by doing this, your battery will last a LOT longer)

- Set your timer on your camera, we used 10 sec as we had to set up some shots and this gave us time, but wahtever you prefer… if you have a remote, that’s also good. In a group, this was just easier to coordinate with the same time lapse for everyone. (Setting your timer, will eliminate camera shake)
- Set your ISO to about 200 (you won’t need high ISO to make up for poor light as you will have a very slow shutter speed… This will also limit the grain on your pics)
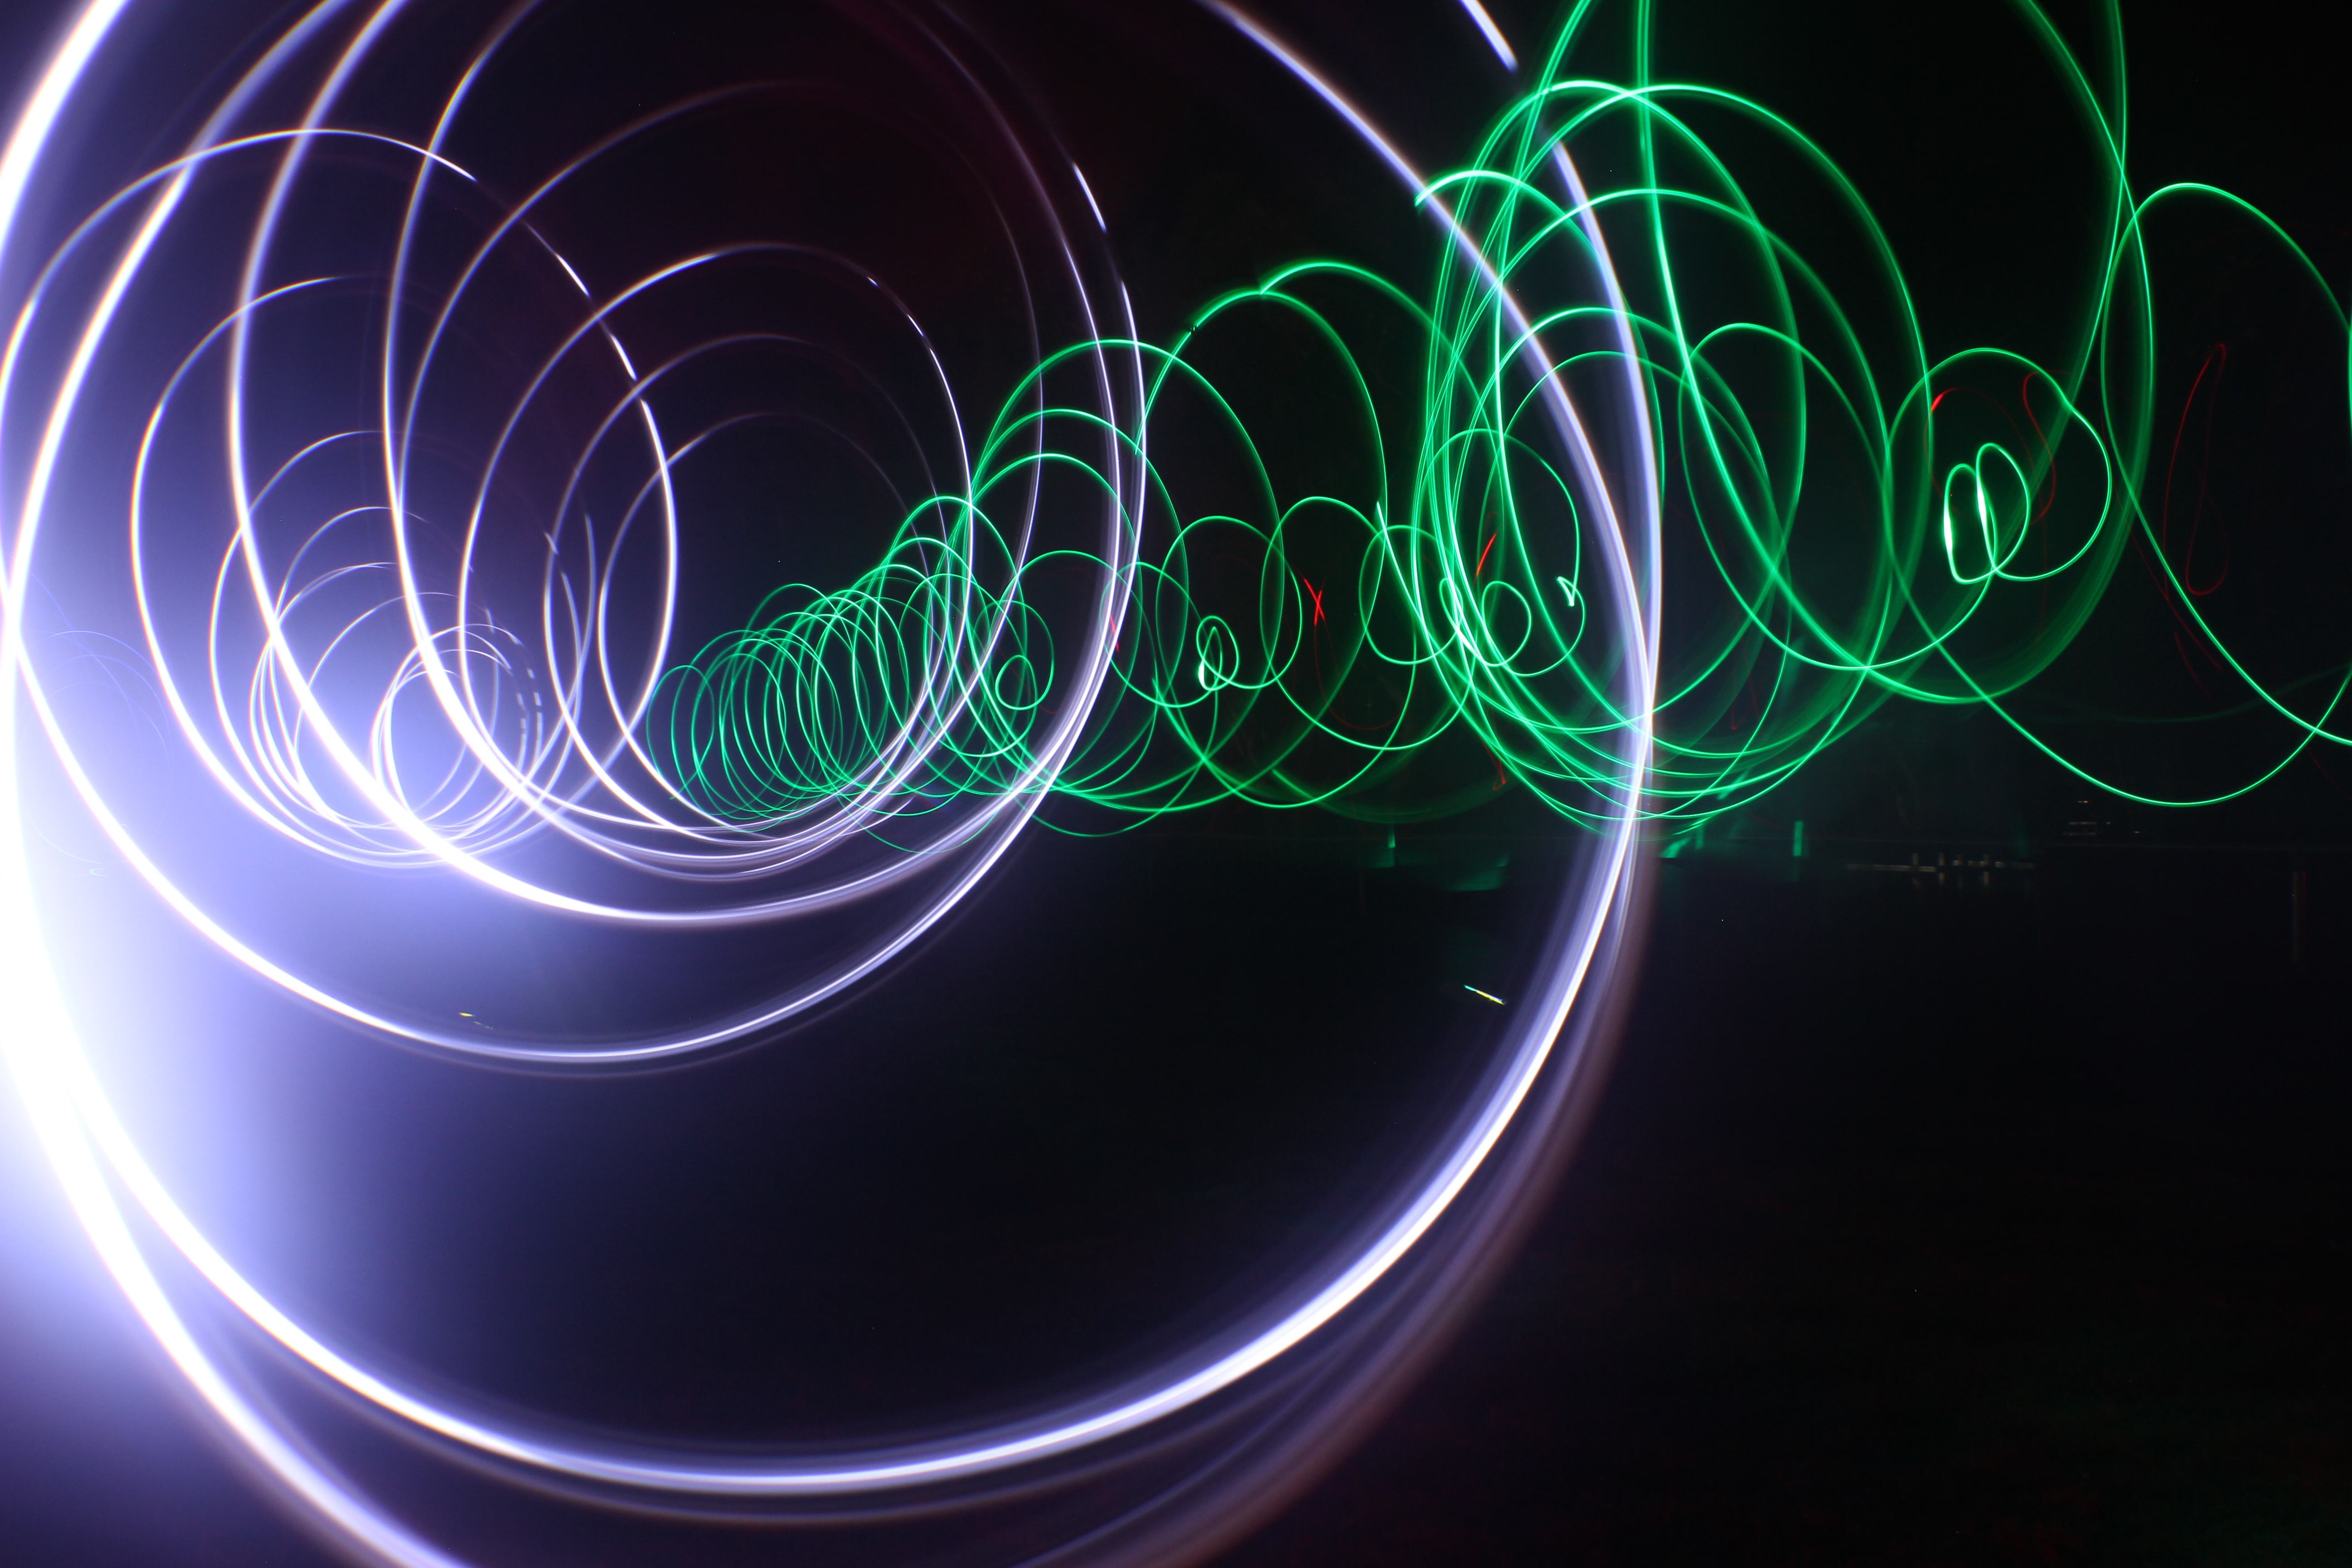
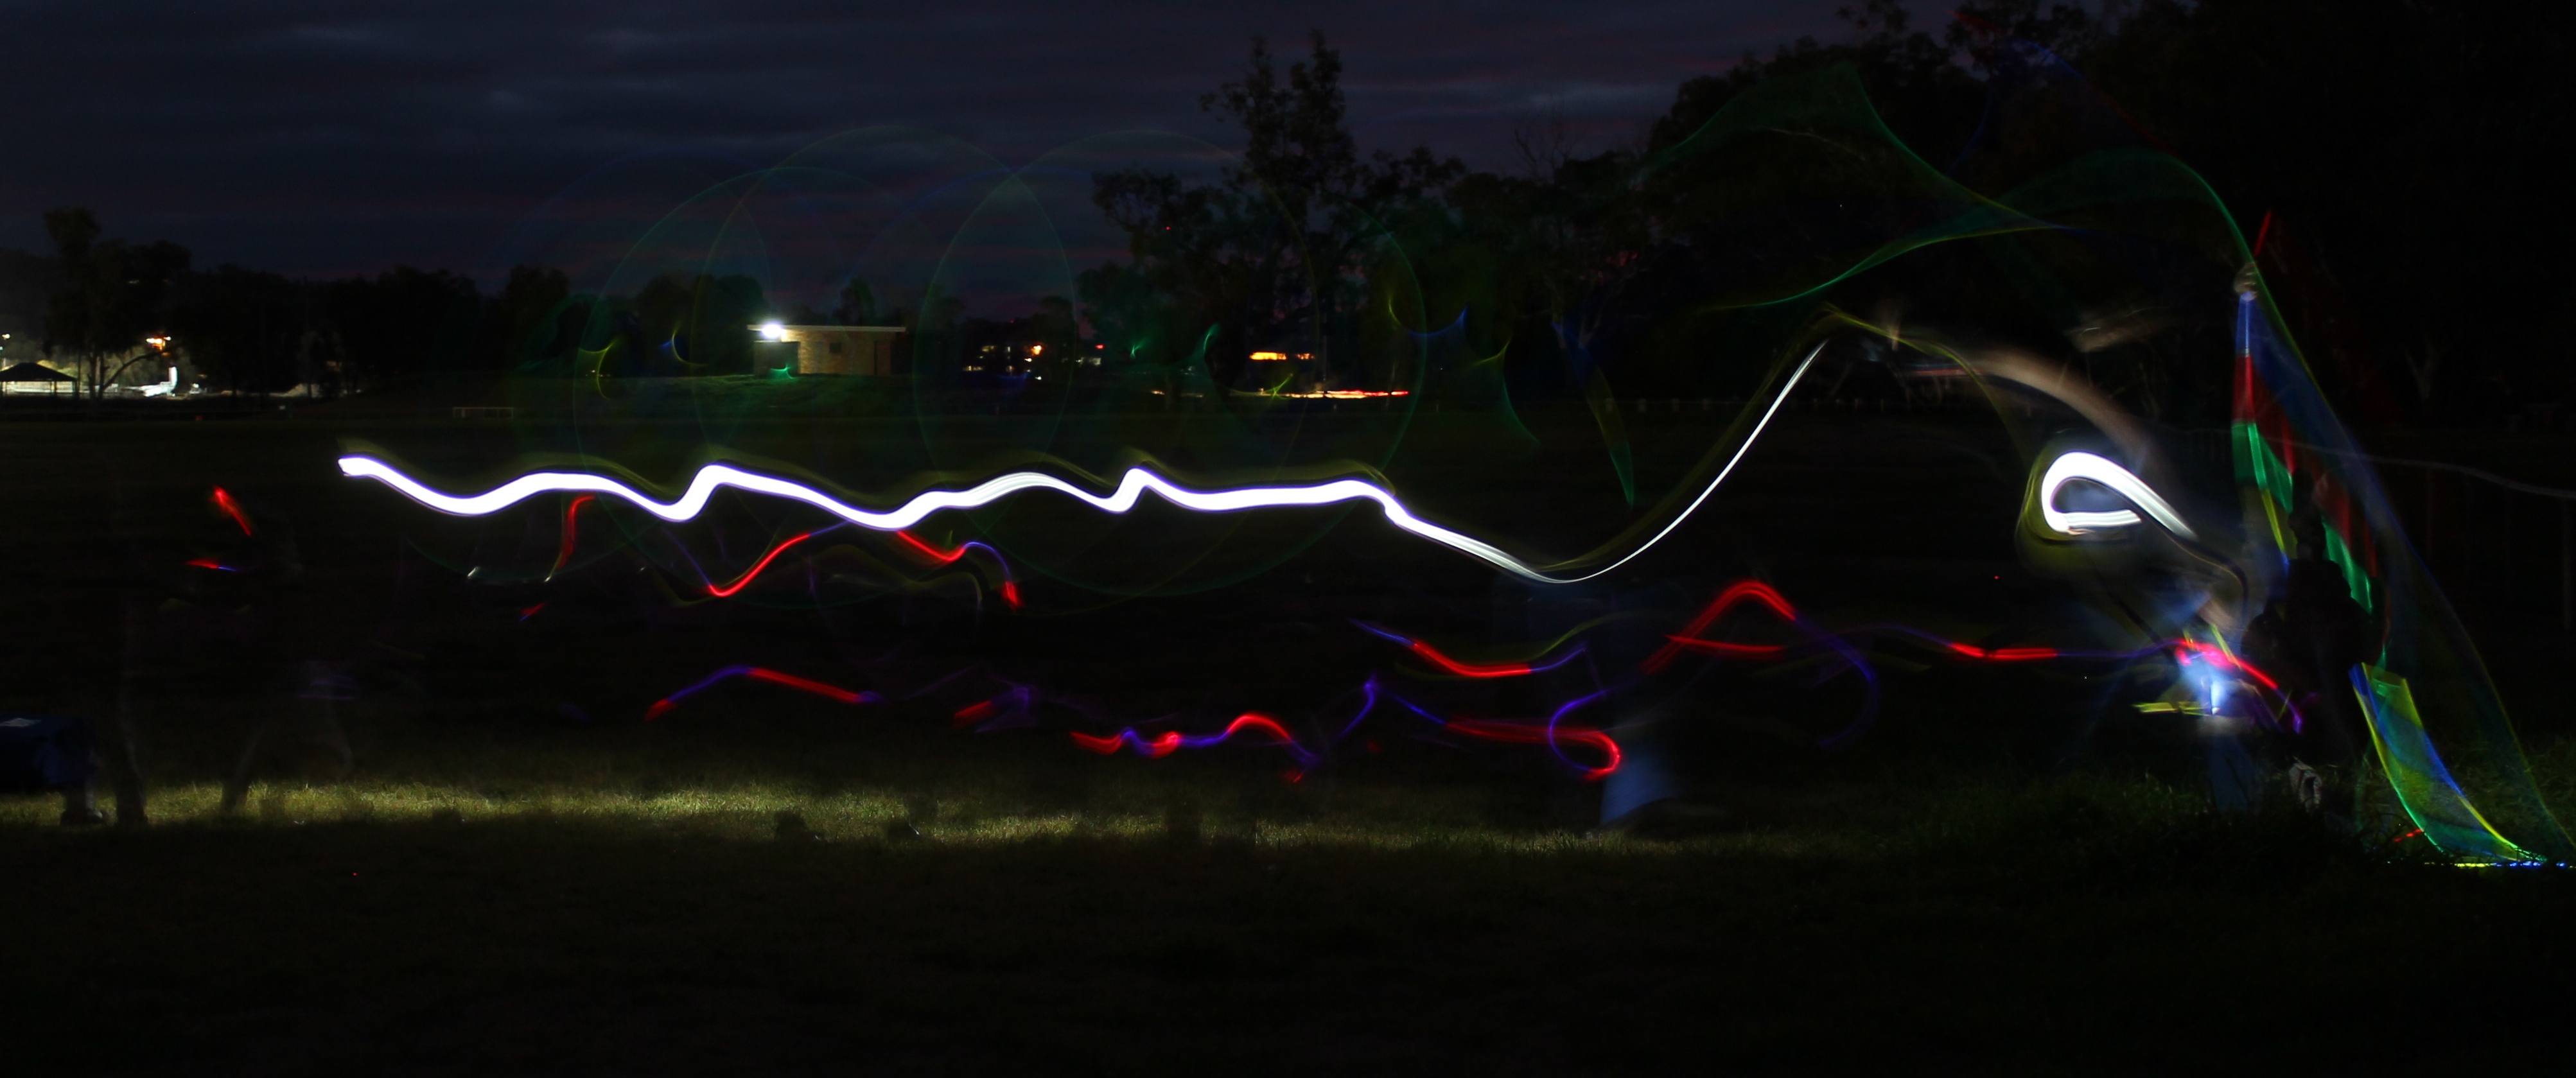
- Now, set your camera to shutter speed setting and set your shutter speed to 10″ to start with… make sure you have 10″ and not 1/10! We ended up on 30″ by the end in order to get the most out of what we wanted to write and create.
")
")
")
")
")
")
- Finally, we will start playing with our exposure compensation… depending on the amount of light, you could comfortably take good photos anywhere from -1 to +1 (Again, very important, you need to play with it to see where you get the best shot… you might get a better shot at -1.3)
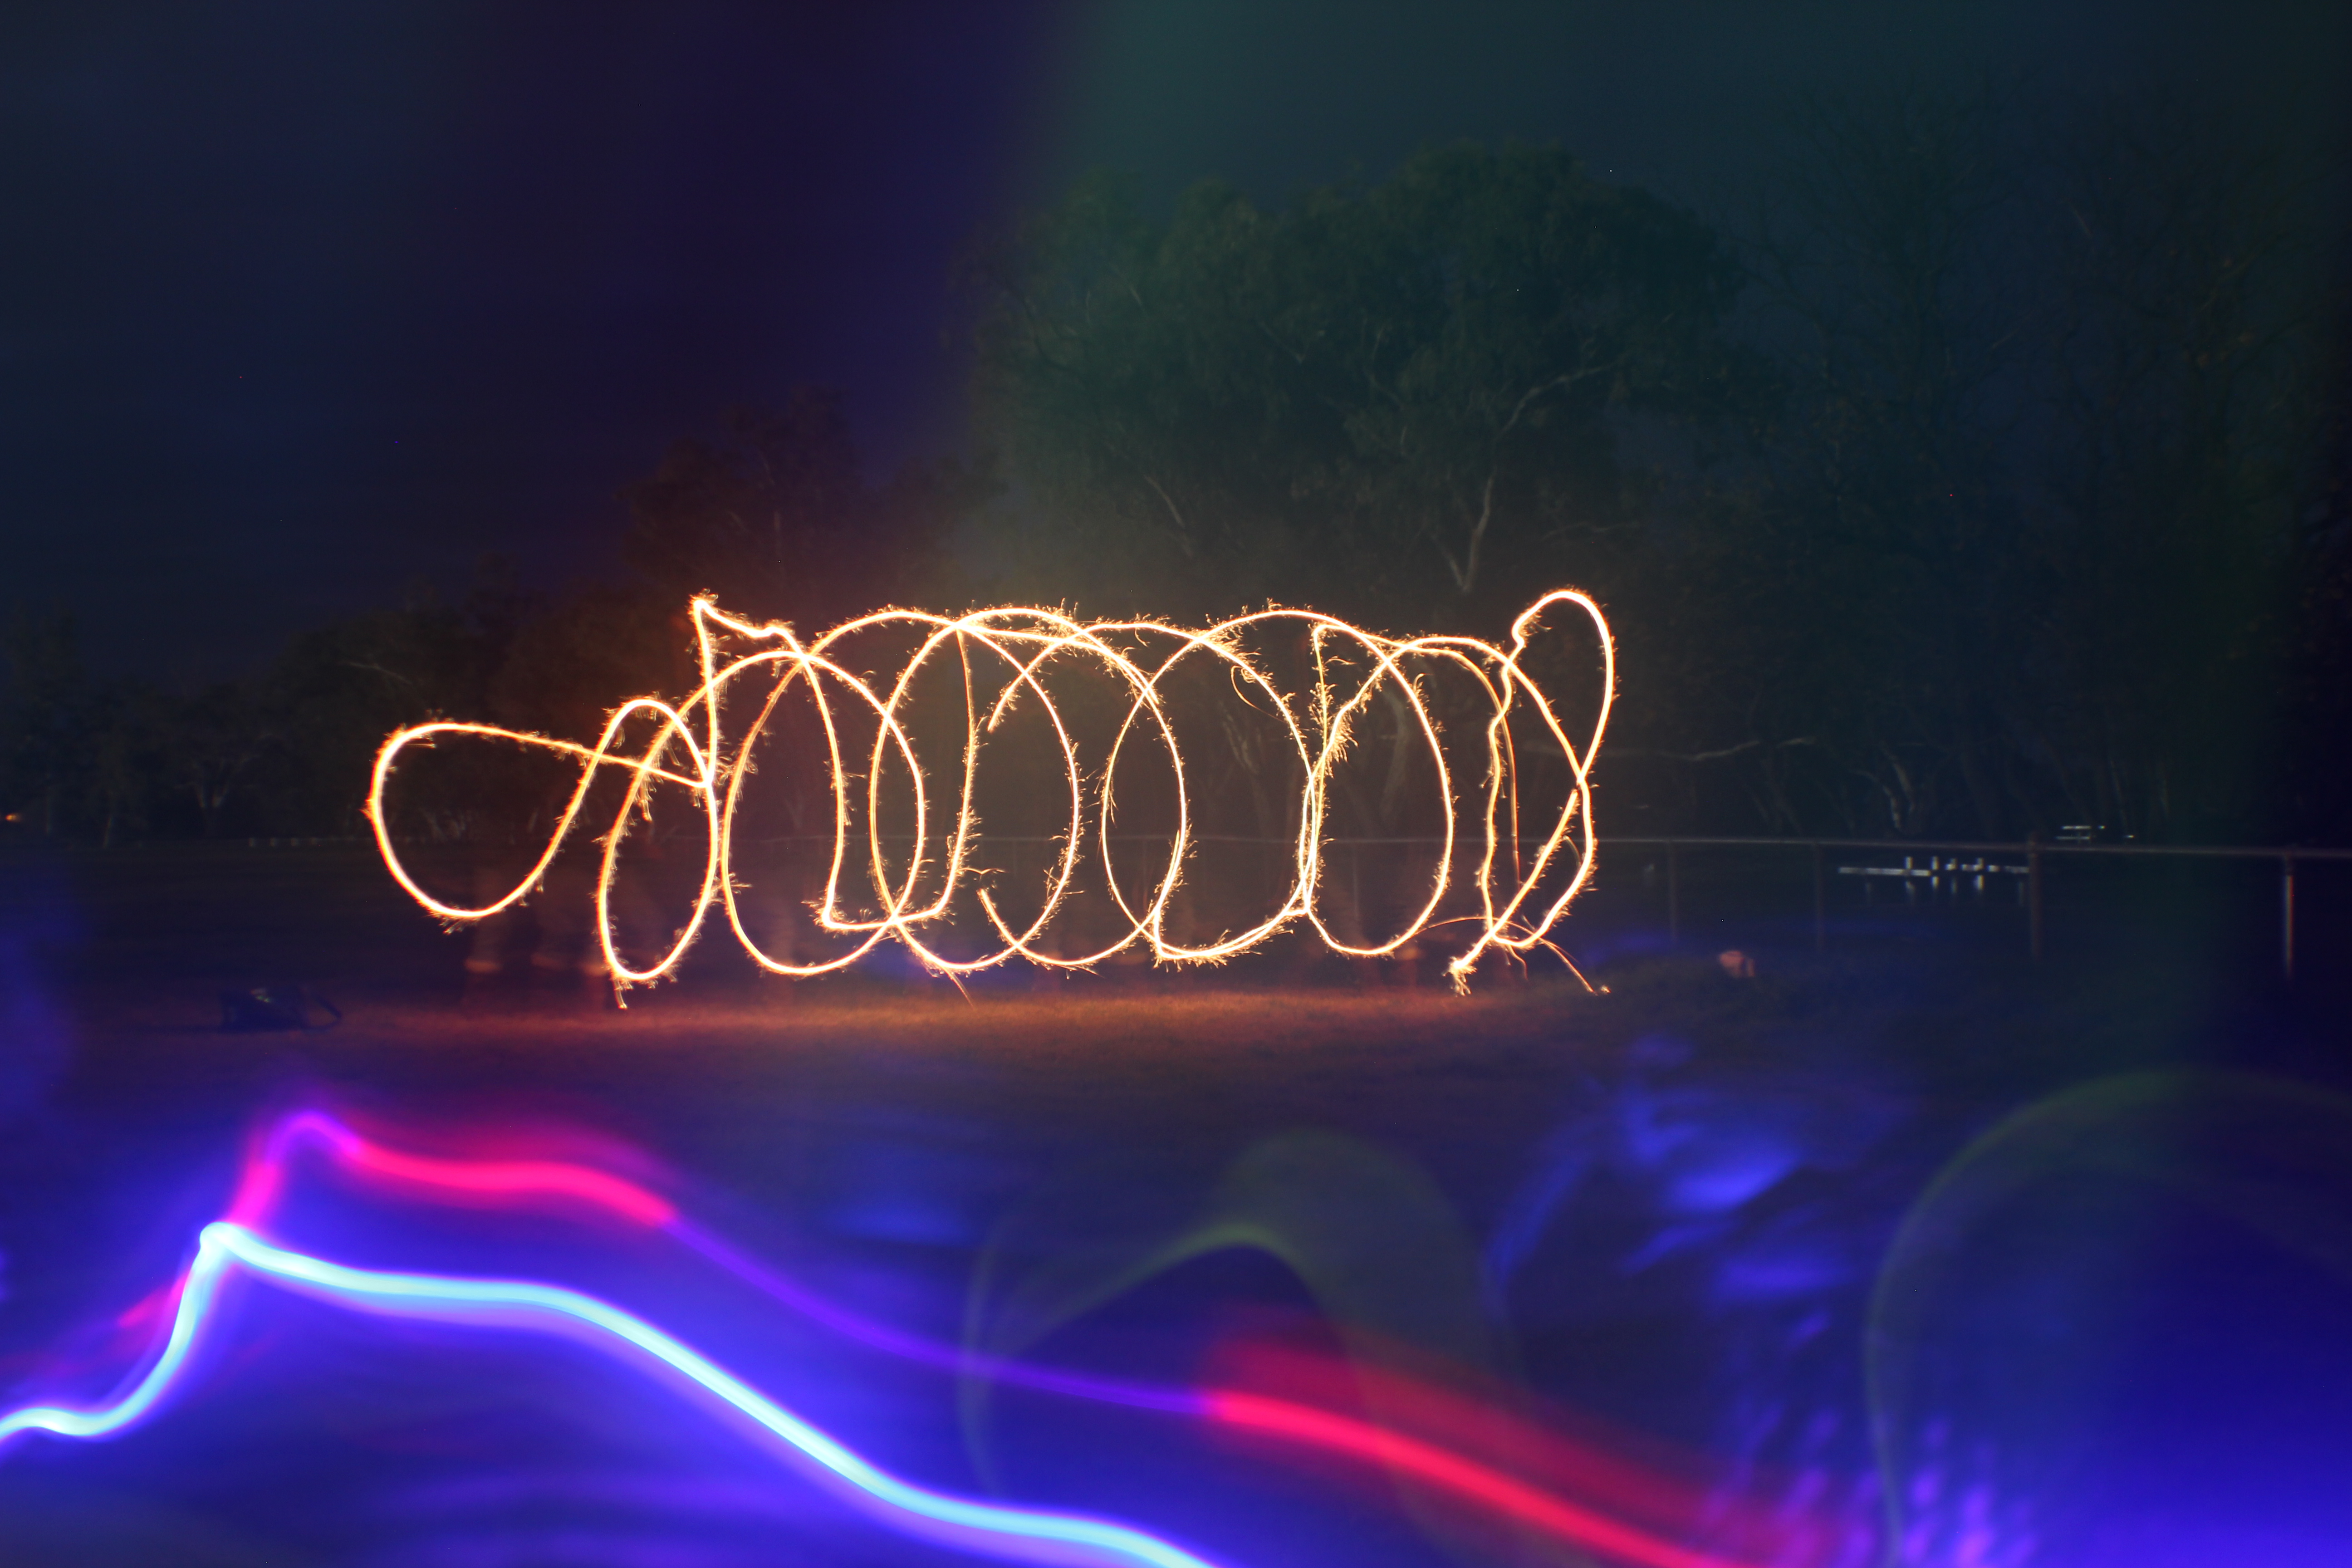

And that, is basically that… Its all about playing and finding the right balance for the perfect pic. Everyone’s camera is different, but I do believe that you should be able to create images with light within those parameters… (I think you are better off than my fellow compatriots of last night, because writing it down, actually gave me time to order my thoughts better!)
I hope everyone has as much fun with this, as I have!!! It will be a definite regular occurrence!!!
Nicky

