 winking") Only comforting note to this, was that I wasn’t the only one in that predicament amongst my fellow members in the ‘less confident group’, so there were many shared giggles.
Only comforting note to this, was that I wasn’t the only one in that predicament amongst my fellow members in the ‘less confident group’, so there were many shared giggles. Was so tempted just to sneak back to Aperture Priority or P mode … but I didn’t. Even more disappointed when I downloaded my card to the computer.
Jodi
What a perfect day we had for our Trip to Barraba for the Frost Over Barraba Landscape Photography Course. A number of Blackjack Photography Club Members participated in the course including Hayley, Anne, Margaret, Paul, Debbie, Stuart & Myself. We travelled over in two cars arriving with a little time to spare.
A few of the Members were excited to spend some time looking at the various exhibitions, where as others of us were just interested in being able to get some lunch before we headed out. This was a little harder to do than first thought. We really felt sorry for Barraba. The Art Community has gone to a great amount of effort and time to make a fabulous weekend of Art & learning, but the poor town just didn’t seam to be able to handle the extra numbers. Stuart & I walked in and out of 3 different food outlets to try to get some lunch, but could not get any service. What a shame for the town. We talked to other patrons and they were equally as perplexed with the lack of service. Although I did talk to Anne & Hayley and they enjoyed a lovely lunch at the Playhouse, so we went along to them but along with 3 other groups of people ended up walking out due to lack of being offered a table to sit at.
Finally, we obtained some lunch and headed to the school to await the arrival of all the participants. Digby Brown was very friendly and greeted everyone on arrival and introduced himself. There were 18 class participants and then Stuart who gate crashed! (Digby was quiet happy to have him along as a gate crasher – I had talked to him about it through the week). Digby was saying that 4 participants pulled out which made me wonder where they were going to sit anyway on a 21 seater bus??
We did a class room presentation first where Digby explained the different types of photographers. We were able to identify where we sit in the Photographers spectrum and see where we can aim to sit in the future. Not all of us wish to make this a career, I think most of us just want to learn to take better photos for our own enjoyment.
Digby explained the type of set up we should be aiming for listing different options and costs, but he did specify the importance of a good Tripod! A good tripod will make a huge difference in the quality of our photos. He explained that alot of Tripods aren’t capable of holding the weight of our cameras. (This is a personal lesson I have just learnt and was actually using my brand new tripod on Saturday!)
Digby also explained about our lenses and the capabilities, which was hugely confusing and I won’t begin to talk about that!! He did say that for landscape photography we are best to use 18-55mm lens but stay away from the 18 and 55 setting as if you are using either end of the lens capability it will cause distortion to your photo!!
He gave us a cheat sheet of camera settings and also a list of the important items we need in our camera bag, including a spare battery (Use the brand name batteries, not the generic brands) and also a good quality SIM card!
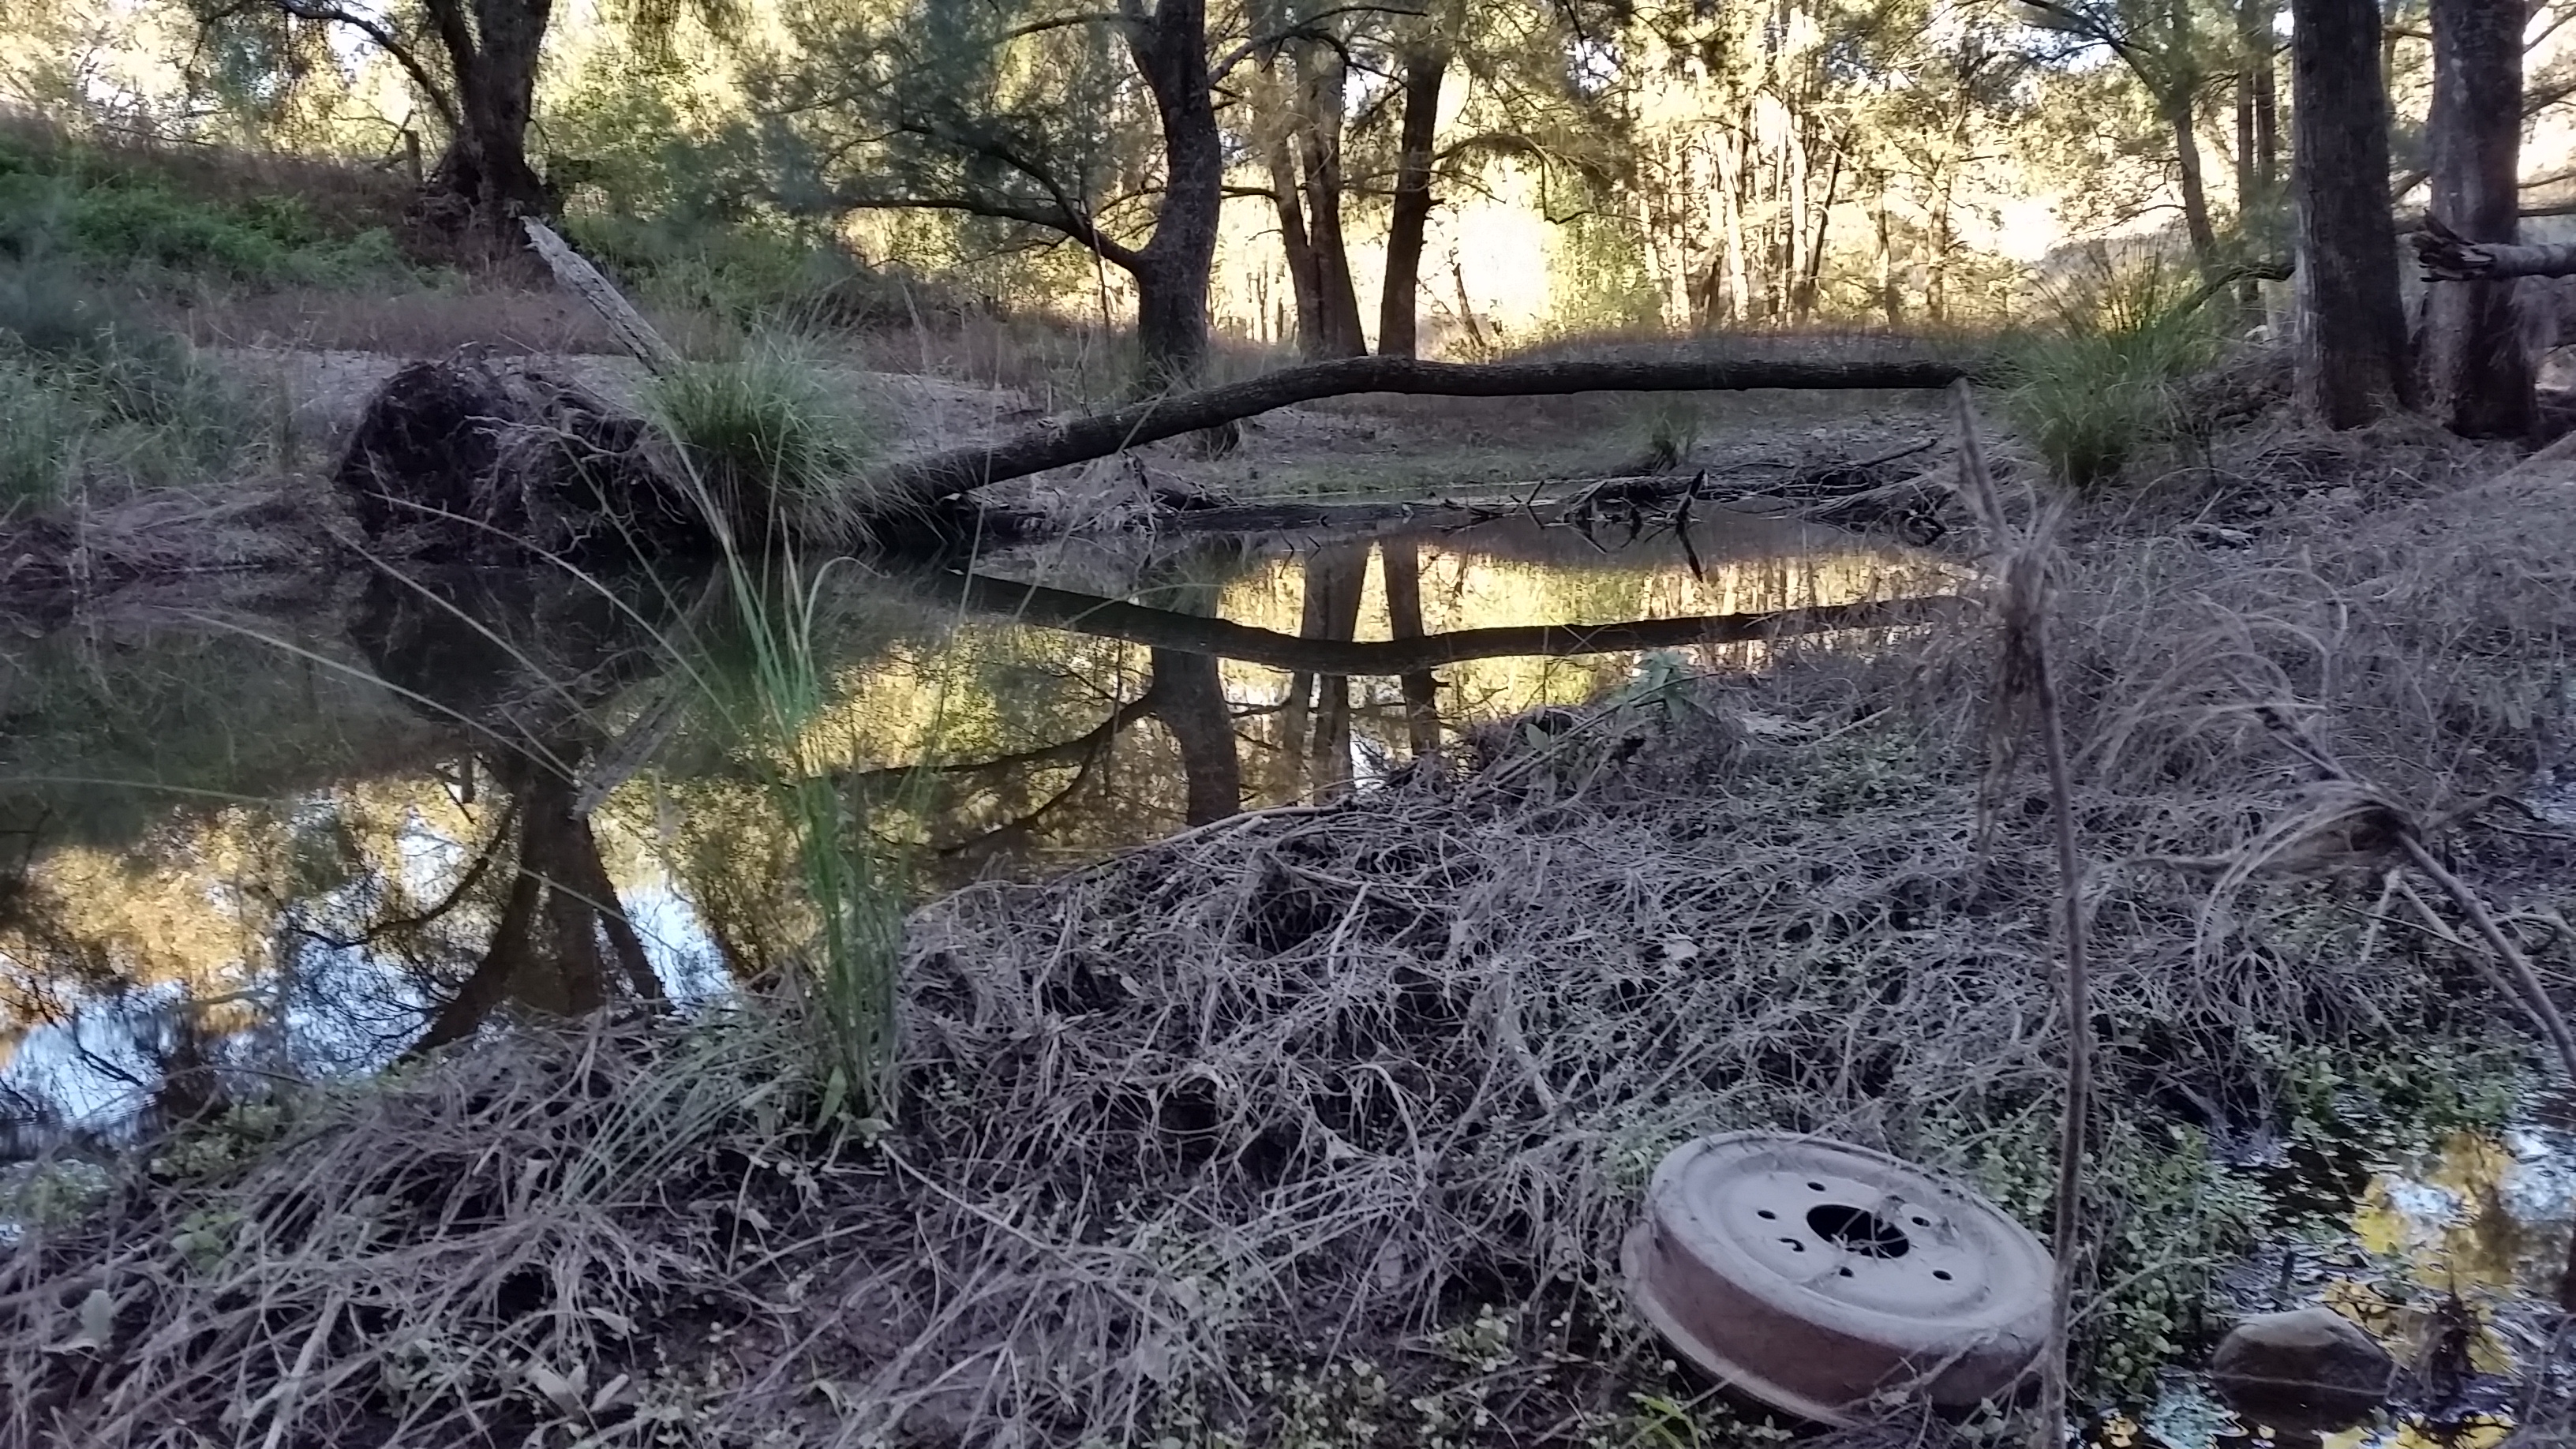
Once we had the facts under our belt it was time to take to the road. We headed out towards Woodsreef to a little Historical area called Plum Hill. We stopped at Woodsreef Church to take photos of a little creek area and the church. We were concentrating on knowing how to work in MANUAL mode and taking 4 shots of each photo. One with the Light Metre in the middle, and one 2 clicks either side of the middle and one over exposed. Digby was explaining that in post production we can use HDR to merge the photos into one which should bring up the details with the overexposure as well as the colour in the underexposed photo. We can do this using Lightroom or Photoshop. Shooting in JPEG and RAW also have an impact on the quality of post production, but I can’t begin to explain that one! I am shooting in JPEG. I dont need to learn about another thing yet! I am totally confused already!!!
So full of sticky beaks and 250 photos on my new memory card, we hoped back on the bus to head to a farm to take some “Golden Hour” photos. These are photos taken in the first and last hour of the day! The farm had lots of interest with vintage implements and an old Triumph Sprint car parked under the tree. There was a paddock full of oats and some cows. Some gorgeous Kelpies in their log kennels under the trees and lots and lots of other bits of interest. There were spread from one of the yard to the other trying to catch the perfect shot!
All in all the day was wonderful. We received an abundant amount of knowledge (Too much for some of us!) Digby was a fantastic teaching offering lots of one on one help and complements when needed.
Digby did mention that he intended to come to Gunnedah soon to do some courses and if he does, I highly recommend that you take the time to attend!
Stuart
I drove 120ks listening to Jodi say “I don’t know” every 7 minutes.
Arrived at Barraba hungry, tried four places to eat, couldn’t get served, bought a dodgey chicko roll.
Sat through a 1 hour lecture about camera’s I know nothing about, left knowing a bit more than the nothing I started with about landscape photography.
Jagged a seat on the bus and went to an old church near a creek opposite an abandoned asbestos mine.
Took some pics of the creek and took some pics of people taking pics while swearing at expensive camera’s.
Called into a farm to watch the sunset on way back to Barraba, oats could use a drink and top dress of N but looked ok considering the number of cattle grazing them.
Watched people swearing at expensive camera;’s for an hour and half as the sun set.
Took some pics with my mobile phone while people looked at me like I was bringing a knife to gunfight.
Looked at how bad my pics were in comparison to Jodi’s on the bus on the way back to Barraba.
Drove home in roo preservation mode, all roos survived.
Forgot to steal lollies from Jodi’s shop on way home.
Liked a couple of pics out of the 185 I took, none were great.
Seriously though Digby knows his stuff and managed to include everyone in the class, he had all the time in the world to help people who needed it and I went away wondering if I should buy a $3k camera……… that’s a lot of bike parts…….. so, probably not.
and your best photo?
Attached.
what you did to capture it?
Walk through 38 billion sticky beaks.
and if you used an post production and what?
No
Debbie
What Digby suggested we do was set the ISO on 100 and and just adjust the light setting which changed everything else as needed in manual mode.
So thats just what I did. The ISO is 100 and put the Light setting in the middle and make adjustments from there.
Post Production:
I have used Photoshop Elements and there is a setting Enhance – Auto Smart Tone. In this setting I think it is similar to the HDR only it uses the 1 photo and adjusts the lighting and contrast and you can select where you want it. I did this to all the photos and then with the river photo also added a premade action and adjust the colour to something more like it was looking through the eye.
